

Gallery Pro Admin guide
Gallery Pro Admin is a Bric for managing your Gallery Pro photos in a browser. You can add photos, hide them from the gallery, and move selected photos into albums. The screenshots in this guide show Gallery Pro Admin 1.1.7. Use Gallery Pro 1.1.0 or later for the public gallery to read the dates and visibility settings saved in Admin.
If you haven't created your admin page yet, follow the admin page setup.
Add photos to Library
You can start without creating an album. Library shows the photos directly in the server's _gallery/ folder.
- Open the admin page in your browser and enter your username and password.
- Open Library, choose Add photographs, and select your images. You can select multiple JPEG, PNG, GIF, and WebP files at once.
- Select Add as hidden if you want to prepare the photos before making them visible in the gallery. Then choose Upload.
- Reload the public gallery page where the Gallery Pro Path is empty to check that the photos appear.
You can also upload photos to the same _gallery/ folder from your hosting provider's File Manager. Hosting guides
Move selected photos into an album
For example, to group photos taken in the first half of 2026, start in Library.
- Open Filter, select Capture date, enter January 1 through June 30, 2026, and apply the filter.
- Check Select shown. To select individual photos, use their checkboxes. In Grid view, click a photo to select or deselect it. Shift-click applies the same selection change to the range from the last photo you toggled.
- Choose Move in the bulk action menu and select the destination. To create an album as part of the move, enter its name in New album.
- Choose Apply to selection, then open the destination album to check your photos.
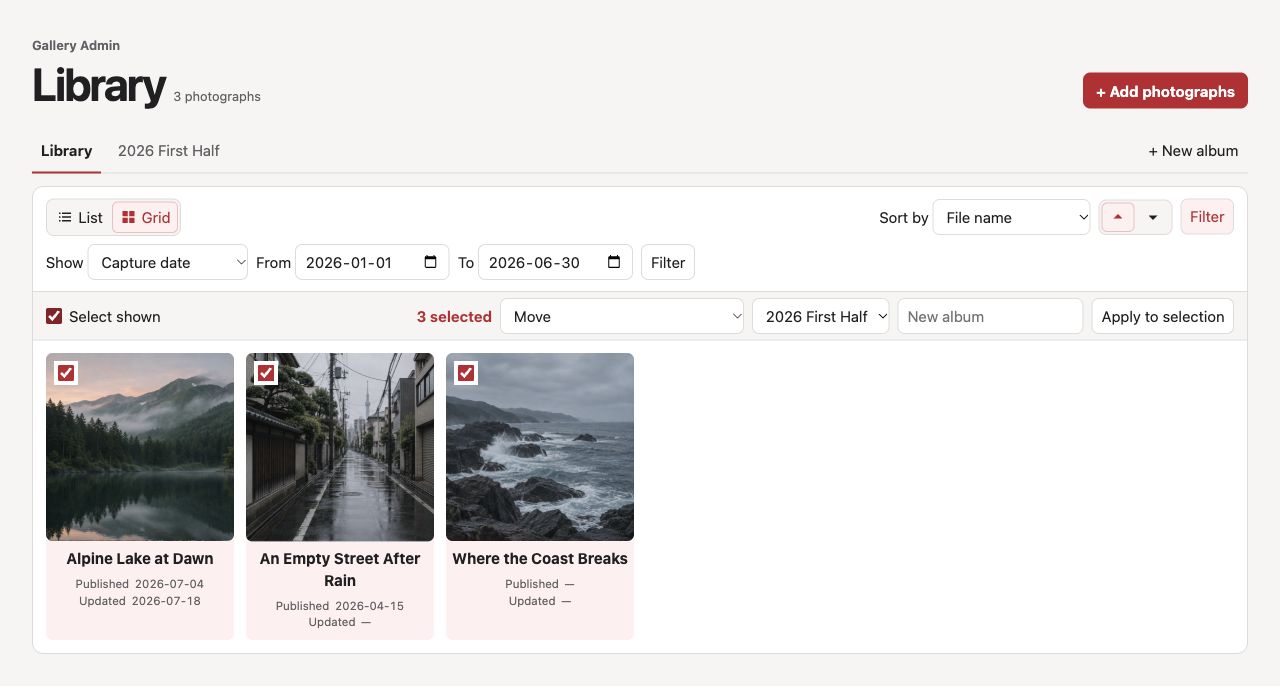
Three photos taken in the first half of 2026 are selected, with Move and the destination album set.
Published dates, updated dates, and visibility settings move with the photos. The photos leave the public gallery that displays Library. To publish the destination album, set the public Gallery Pro Bric's Path to the album name. For example, works shows photos in _gallery/works/.
Check dates and edit photos
Published and updated dates are dates you set for the gallery. Capture dates come from embedded photo metadata. File dates come from the last modification time on the server. You can sort by filename or any of the four dates, filter by a date range, and find hidden photos or photos without a published or updated date.
In Grid view, click the dates below a photo's name to switch between Published / Updated and Capture / File Date. In List view, the capture and file dates appear to the right of the photo name.
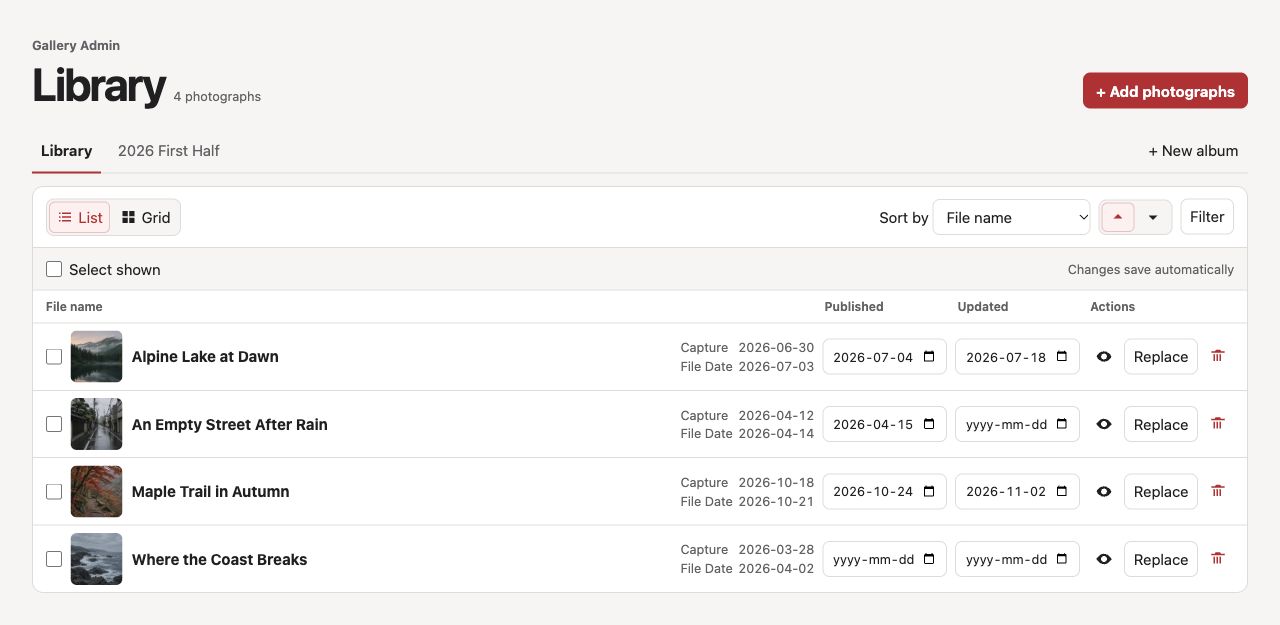
List view puts the photo dates in the same row so you can review and edit them.
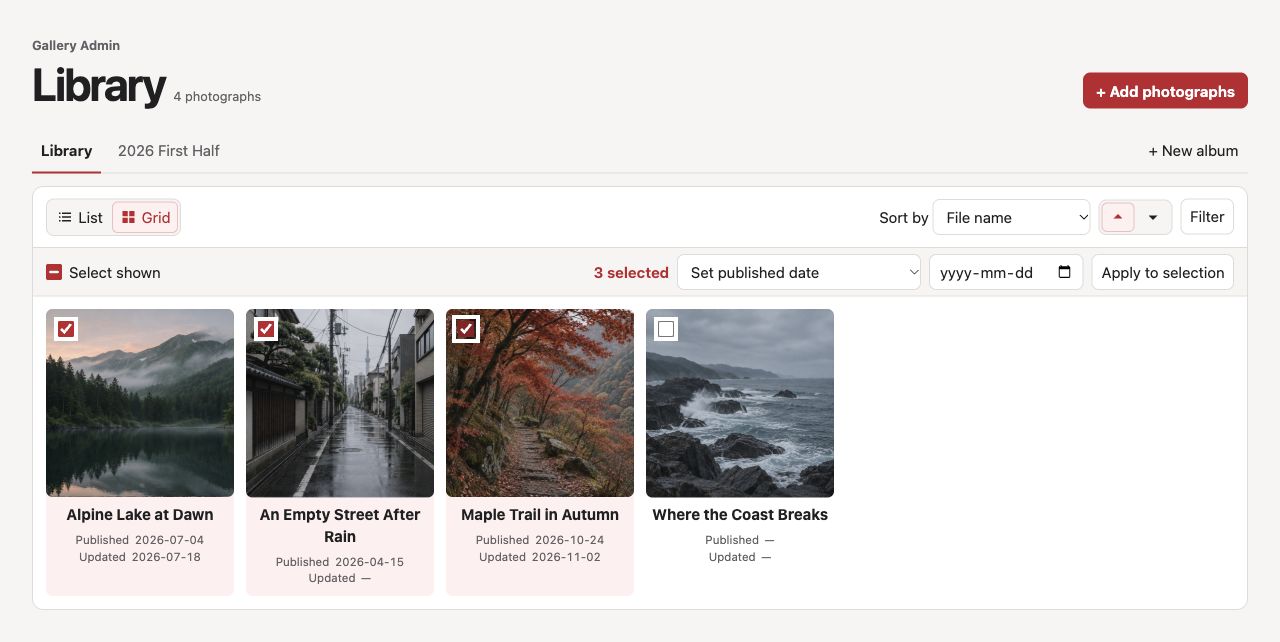
Click the first photo and Shift-click the third to select all three photos in that range.
- Dates and visibility. Changes to the published date, updated date, and hidden setting save automatically in List view. When you enter an updated date for a photo without a published date, Admin also uses it as the published date. Hidden photos are excluded from the public gallery and their individual photo pages. The image files are still available at their direct URLs.
- Rename a file. In List view, point to the photo row and click the pencil next to the name. Read the warning below the name field before applying the change. Renaming updates both the public photo page URL and the image URL.
- Replace a file. Choose Replace in List view and select an image with the same name. The file extension can differ.
Apply changes to several photos
You can set published dates, updated dates, and visibility for selected photos. You can also use each photo's file date or capture date as its published date.
- Use file date as published. Uses the file's last modification date on the server, replacing an existing published date.
- Use capture date as published (1.1.6 or later). Uses the capture date recorded in the photo. Admin skips photos that already have a published date or have no capture date.
- Delete (1.1.6 or later). Select Delete, then choose Delete selected. Check the album and count in the confirmation dialog before confirming. This permanently deletes the photo files and their management records.
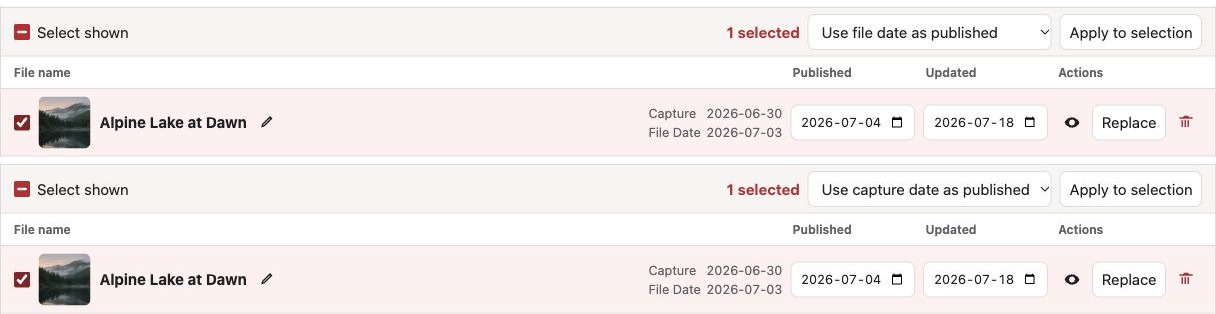
The upper example uses the file date and the lower example uses the capture date. After selecting an action, choose Apply to selection.
Set up the admin page
Install both Brics in Blocs before you create the admin page. Install the Pac
- Create
_gallery/under the server's document root and give PHP write access throughout it, including album folders. Photo folder and write permissions - Create an admin page in Blocs. Under Page Settings → General, set File Type to PHP. Place Gallery Pro Admin on the page and leave it out of navigation and search.
- Leave the Admin Path empty to switch between Library and albums on the published admin page. To manage a single album from this page, enter that album's name as Path.
- In your hosting control panel, use a feature such as Directory Privacy to password-protect the admin page's folder, for example
/gallery-admin/. Access the page over HTTPS. Gallery Pro Admin uses server-side HTTP Basic authentication. Authentication on Apache and Docker - Publish from Blocs and open the admin page in a private browser window to check that the browser asks you to sign in. After signing in, open Library or the configured album and upload one photo to check that it saves.
Configure Admin in Blocs
Select Gallery Pro Admin in Blocs and find the Album section in the right sidebar.
| Setting | Default | What it controls |
|---|---|---|
| Path | Empty | Leave empty to switch between Library and albums, or enter an album name to manage only that album. |
| Language | English | Language of buttons, messages, and help on the admin page. |
| Time Zone | Asia/Tokyo | Time zone for entering and displaying published and updated dates, and for reading the calendar date of a file's last modification. |
| Hyphen URLs | On | When on, Admin rejects uploads and renames with hyphens in the filename. |
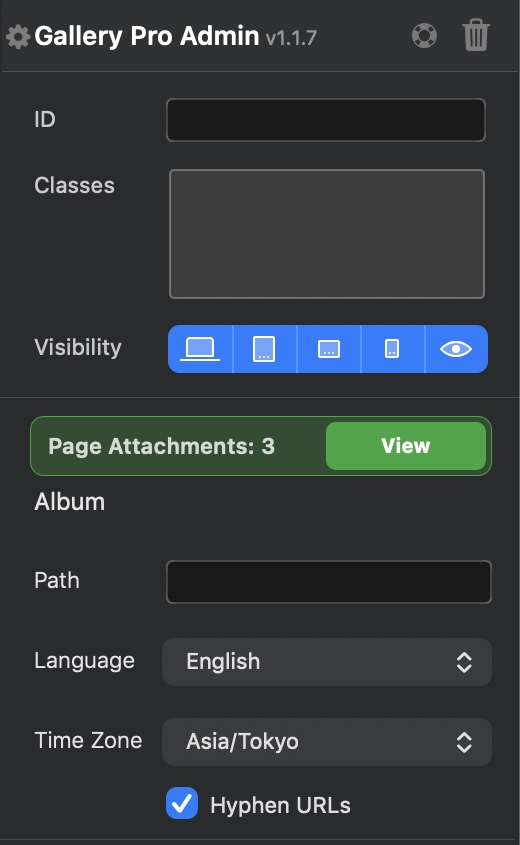
The Album section of the Gallery Pro Admin sidebar.
Use the same Hyphen URLs setting in the public Gallery Pro and Admin when they manage the same photos. See how changing the setting affects shared URLs. Gallery Pro settings
For the public page and individual photo URLs, see Set up Gallery Pro.