

補講:第 2 編のネイティブ並列レンダラー
1/14 補講:ネイティブ並列レンダラー で第 1 編の最終シーンを並列ネイティブ実行する独立プログラム raytracing-book1-final-scene を作りました。第 2 編の最終シーン(2/10 全機能を試すシーン)は WASM では 300×300 / 50 samples/px が現実的な上限でしたが,マルチスレッド・ネイティブ実行であれば原典に近い解像度・サンプル数で描けます。本稿ではその独立プログラム raytracing-book2-final-scene を master/native/ に作ります。
第 1 編版との違い
第 1 編版(raytracing-book1-final-scene)は common/ クレート相当のコードを src/rt/ にまるごと移植することで,WASM ワークスペースから完全に独立したスタンドアロン構成を取りました。第 2 編版は事情が異なります。第 1 編完成時点では common/ は 9 個のモジュール(vec3, ray, hittable, hittable_list, sphere, material, camera, utils, lib.rs)でしたが,第 2 編完成時点では texture / perlin / image_texture / aarect / rect_box / instance / constant_medium / bvh / moving_sphere の 9 モジュールが追加され,総量が倍以上に膨らんでいます。すべてを src/rt/ に再コピーするのは保守上も無駄なので,第 2 編版は common/ クレートを path 依存で直接参照する方針に切り替えました。
[package]
name = "raytracing-book2-final-scene"
version = "0.1.0"
edition = "2024"

[dependencies]
clap  = { version = "4", features = ["derive"] }
image = "0.25"
rayon = "1"
common = { path = "../../wasm/raytracing/common" }
common = { path = "../../wasm/raytracing/common" } の 1 行で,WASM 用ワークスペースで使っている共通ライブラリをそのまま借りてきます。WASM 用ワークスペース内の r210-final-scene クレートは wasm-bindgen を介して String で PPM を返しますが,本ネイティブ版は wasm-bindgen には依存せず,純粋に CLI バイナリとしてビルドします。common/ 自体も wasm-bindgen には依存していないので,こうしたクロスユースが問題なく成立します。
common/ への小修正:Hittable: Send + Sync
第 1 編版の補講で行ったのと同じ修正を,今回は common/ 側に直接適用します。具体的には,common/src/hittable.rs の Hittable トレイトに Send + Sync をスーパートレイトとして追加します。
/// `Send + Sync` is required so that a fully built world (e.g. a `BvhNode`
/// holding `Arc<dyn Hittable>` children) can be shared across rayon threads
/// in the native multi-threaded renderer.
pub trait Hittable: Send + Sync {
    fn hit(&self, r: &Ray, t_min: f64, t_max: f64) -> Option<HitRecord>;
    fn bounding_box(&self, time0: f64, time1: f64) -> Option<Aabb> { None }
}
この変更は WASM 側のビルドにも影響しますが,common/ 内の実装はすべて Arc/プリミティブ型のみで構成されており自動的に Send + Sync を満たすため,どのデモも追加変更なしでビルドできます。Material と Texture は第 2 編移植時点ですでに Send + Sync を宣言していたので変更不要です。
アセット(earthmap.jpg)の扱い
ネイティブ版でも地球テクスチャは必要です。第 1 編版と同じくバイナリに埋め込む方針を取り,WASM 側 r206-earth/assets/earthmap.jpg を include_bytes! で取り込みます。
const EARTHMAP_JPG: &[u8] =
    include_bytes!("../../../wasm/raytracing/r206-earth/assets/earthmap.jpg");

// ...

let earth_image = image::load_from_memory(EARTHMAP_JPG)
    .expect("failed to decode embedded earthmap.jpg")
    .to_rgb8();
let (w, h) = earth_image.dimensions();
let earth_texture: Arc<dyn Texture> = Arc::new(ImageTexture::from_rgb_bytes(
    earth_image.into_raw(), w, h,
));
WASM 側 r210-final-scene では build.rs でデコード済み RGB バイト列+寸法定数を生成して include_bytes! していましたが,ネイティブ版は実行開始時に一度デコードするだけで済むので build.rs は省略し,JPEG バイト列のまま埋め込みます。image クレートは依存に含まれているので追加コストはありません。
シーン定義
シーンの構築コードは r210-final-scene::final_scene と完全に同一です。差分は「render_image() で String を返す」ところを「行ごとに Vec<[u8; 3]> を返し,最後に image::ImageBuffer に詰めて PNG を保存する」に置き換えるだけで,ジオメトリ・マテリアル・カメラ設定はすべて流用できます。
並列ループ・進捗表示
1/14 補講 と同じパターンです。(0..image_height).into_par_iter().map(|j| ...) で行単位に並列化し,AtomicUsize で完成行をカウントして \rRows: x/y を eprint! します。world: HittableList は Hittable: Send + Sync を満たすので,閉包から &world を借用するだけで複数スレッドから同時に参照できます。
let rows: Vec<Vec<[u8; 3]>> = (0..image_height)
    .into_par_iter()
    .map(|j| {
        let world_j = image_height - 1 - j;
        let row = (0..image_width)
            .map(|i| {
                let mut pixel_color = Color::new(0.0, 0.0, 0.0);
                for _ in 0..samples_per_pixel {
                    let u = (i as f64 + random_double()) / (image_width - 1) as f64;
                    let v = (world_j as f64 + random_double()) / (image_height - 1) as f64;
                    let ray = camera.get_ray(u, v);
                    pixel_color += ray_color(&ray, background, &world, max_depth);
                }
                color_to_rgb(pixel_color, samples_per_pixel)
            })
            .collect();
        let done = completed.fetch_add(1, Ordering::Relaxed) + 1;
        eprint!("\rRows: {}/{}", done, total_rows);
        row
    })
    .collect();
ray_color は第 2 編で背景色が陽に渡される形に変わったため,第 1 編版の ray_color(&ray, &world, depth) ではなく ray_color(&ray, background, &world, depth) の 4 引数版を呼びます(background = Color::new(0.0, 0.0, 0.0) で原典と同じ「光源以外は真っ暗」設定)。
コマンドラインオプション
clap の derive マクロは第 1 編版と同型で,第 2 編固有の調整として デフォルトの解像度・サンプル数を原典準拠に寄せています。
Usage: raytracing-book2-final-scene [OPTIONS]

Options:
  -o, --output <OUTPUT>        Output PNG file path [default: book2-final.png]
      --width <WIDTH>          Image width in pixels [default: 800]
      --height <HEIGHT>        Image height in pixels (default: equal to width)
  -s, --samples <SAMPLES>      Samples per pixel [default: 1000]
      --max-depth <MAX_DEPTH>  Maximum ray recursion depth [default: 50]
  -j <THREADS>                 Number of worker threads (0 = all cores) [default: 0]
  -h, --help                   Print help
原典は samples_per_pixel = 10000 ですが,ネイティブ並列でも 10000 spp は数十分から数時間級の時間がかかります。まずは 1000 spp でファイヤフライがある程度残る現実的な絵を出し,必要なら -s 10000 に上げる運用が無難です。第 1 編の最終シーンと違って --grid のような形状パラメータはなく,シーンは固定です。
実行例
# デフォルト:800×800,1000 samples/px,全コア使用
./raytracing-book2-final-scene

# プレビュー:小さく少ないサンプル,4 スレッド
./raytracing-book2-final-scene --width 200 -s 50 -j 4 -o preview.png

# 高品質:原典準拠の 800×800 / 10000 spp
./raytracing-book2-final-scene -s 10000 -o hq.png
品質比較:サンプル数の影響
以下はいずれも 400×400 で,サンプル数のみ変えてレンダリングしたものです。
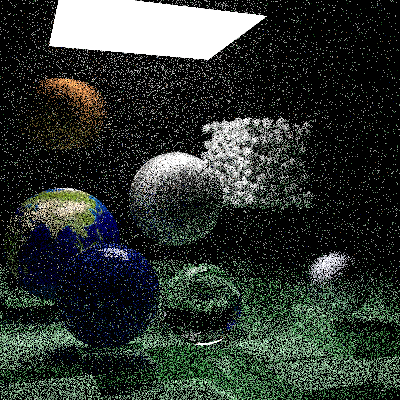
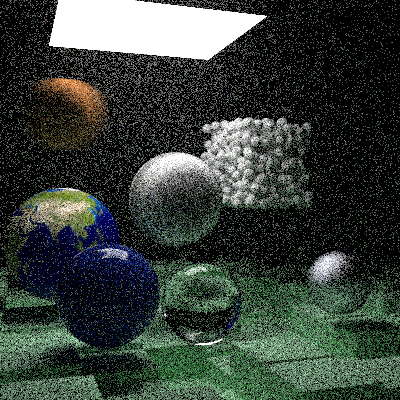
Figure 11.1: 左:20 spp,右:50 spp。全体的にノイズが目立ち,光源周辺のファイヤフライも多い。
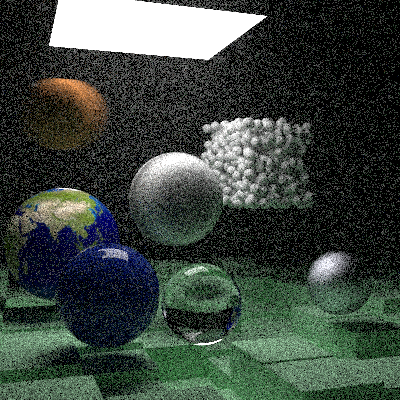
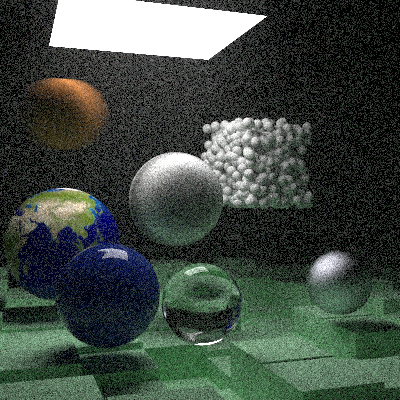
Figure 11.2: 左:100 spp,右:200 spp。ノイズは減るが,地球テクスチャの球やボリューム煙にまだら模様が残る。
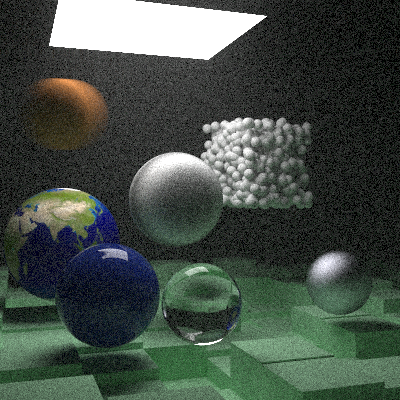
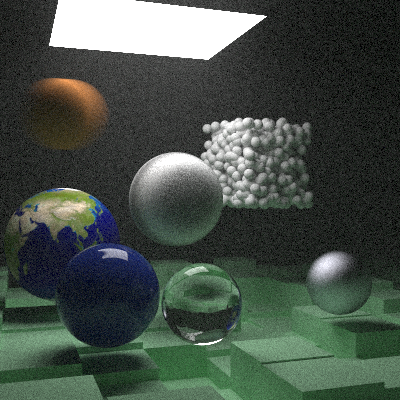
Figure 11.3: 左:500 spp,右:1000 spp。1000 spp でようやく実用的な品質になる。
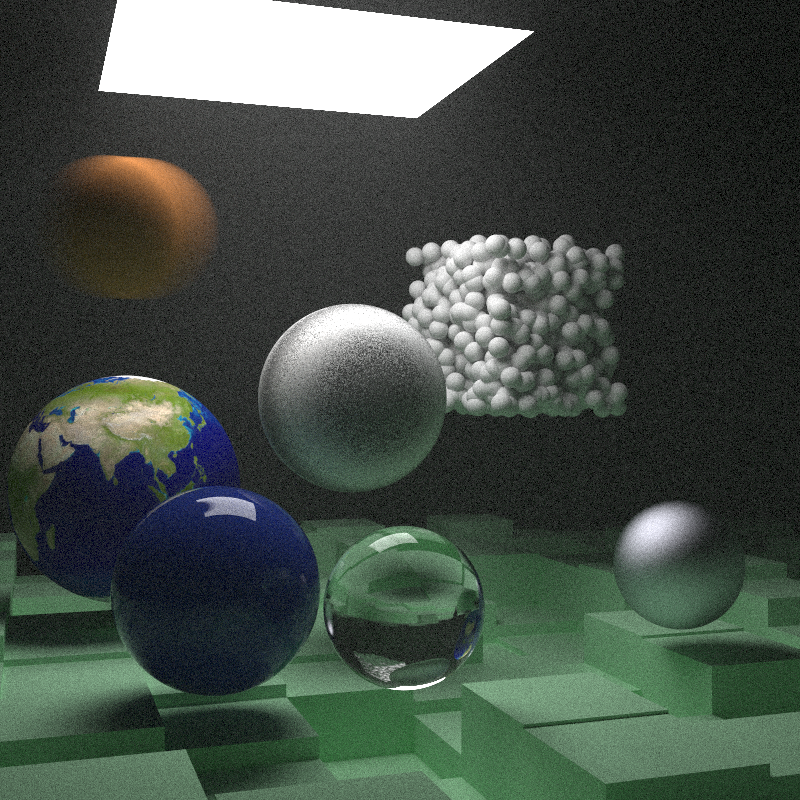
Figure 11.4: 800×800 / 1000 spp。
まとめ
- 第 2 編の最終シーンを CPU マルチコア+PNG 出力でレンダリングする独立プログラム
raytracing-book2-final-sceneをmaster/native/に作成した。 - 第 1 編版が
common/をsrc/rt/にまるごと再移植したのに対し,第 2 編版は規模の都合でcommon/クレートをpathで直接依存する方式に切り替えた。 - それに伴い
common/src/hittable.rsのHittableトレイトにSend + Syncを加算的に追加した。WASM 側の挙動には影響しない。 - 地球テクスチャは
include_bytes!で JPEG のままバイナリに埋め込み,起動時にimageクレートでデコードする。 - 並列化・進捗表示・乱数生成器の振る舞いは第 1 編版と同一。